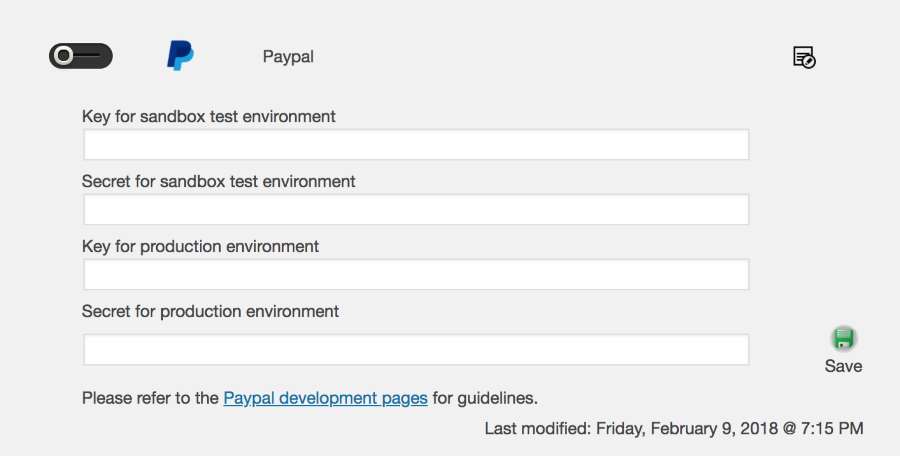
The PayPal™ payment option allows your customers to pay via any method within the PayPal™ system (Linked checking accounts, Debit/Credit cards, etc.). Before you can enable the PayPal™ payment option, however, you must first supply a few specific parameters. These parameters are entered into the payment option section. To make the section visible, click on the properties icon as illustrated below:

Once clicked, the parameters section will open directly below.

Now you can see that there are some specific keys, both for a sandbox (test) environment and for a production environment. Before you can enable the PayPal™ payment option for your site, you will need to obtain these keys from the PayPal™ system. The following guidelines should help:
- If you already have a PayPal™ account, then you can proceed to step 2. Otherwise, you must first have a PayPal™ account, so go to paypal.com and sign up!
- Now that you have a PayPal account, sign into their development portal. (There should be a “Log into dashboard” button in the upper right corner.) Use your PayPal™ username and password to log in. After you log in, you should see your development dashboard, titled as “My Apps & Credentials”
- If this is your first time, you probably don’t yet have an App (application) defined. So you must create an App. Scroll down to the REST API apps section and hit the Create App button. On the next screen, in the Application Details section, give your new app a name (your choice, but you probably want to make the name something meaningful). You should also read and agree to their PayPal Developer Agreement. Once you click on the Create App button your new app should be created.
- Now that you have an app, you should click on the link that opens that app up. (If you just created it, PayPal™ may have automatically placed you on the page for your new app. If not, then under the REST API apps section, you should see the name of the apps you have – simply click on the name to bring that page up.) At the top of your app page, you should see the name of your app as the title on top. Just under the title, on the right side, you should see a dual button allowing you to toggle between Sandbox and Live. Note again that Sandbox simply means the test or development environment and Live refers to the production system.
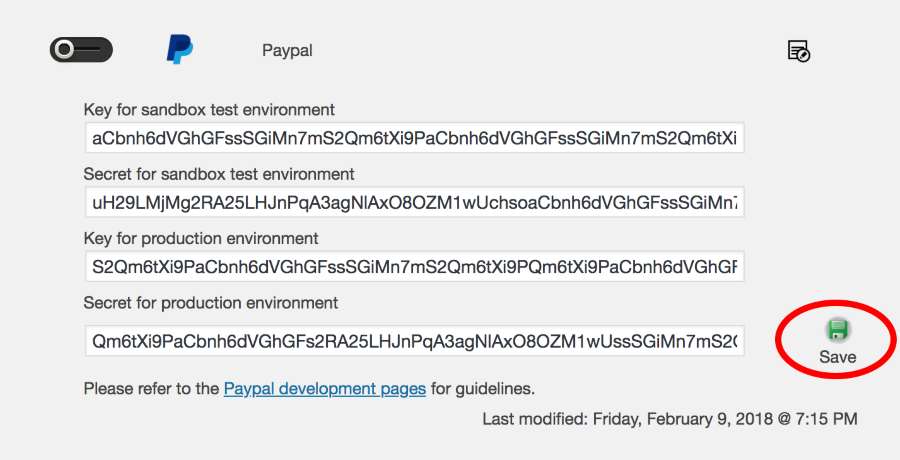
- First, we’ll get the Sandbox parameters, because it’s probably already selected as a default when you first go to your apps page. You should see a Client ID – a long string of characters. Copy this string and paste it into the field in The Crypto Cashier’s PayPal™ option, Key for sandbox test environment. Next, we’ll need the Secret, which is hidden by default in the PayPal™ screen. There should be a Show link, which when clicked will show another long list of characters, which should be copied and pasted into The Crypto Cashier’s PayPal™ option, Secret for sandbox test environment.
- Now we’ll get the Live parameters. Click on the Live side of the dual button and you should see the Live keys. Again, copy the Client ID and paste into The Crypto Cashier’s Key for production environment. Press the Show link to reveal the Secret and copy paste this long string into The Crypto Cashier’s Secret for production environment.
- Finally, before you leave the PayPal™ development portal, you should probably create a test account, which will allow you to test your PayPal™ payment option in the Sandbox environment. On the left hand side of the PayPal™ development dashboard, you should see a “Sandbox” header and just under that there should be an Accounts link. Click on the Accounts link. On the Accounts page, you should see a list of accounts (email addresses). If you don’t see any, create one. View the account profile and make sure you have set a password for the account. This is an account you will be able to use to simulate purchases made through your site using the PayPal™ Sandbox system. (So remember the email and password for the Sandbox Account.)
- If you’ve completed the above steps, you can log out of the PayPal™ development portal.
When you’ve finished you should have something similar to the following illustration. Please be sure to save the PayPal™ parameters using the Save button.

After you have saved the PayPal™ parameters, you can enable PayPal™ as a payment option. This will make the PayPal option available to customers when they want to pay. Simply click on the slider to enable PayPal™ – it will slide from left to right as illustrated below. (For any payment option, when this slider is slid to the right, it is enabled. When it’s in the left position, the option is disabled.)

Lastly, note the Environment setting in the Settings tab. If it’s in Sandbox mode, you can test with your PayPal™ Sandbox account. If it’s in Production mode, purchases are made in real life!

